

A marking device may be technically suitable for many materials—but that does not automatically mean that every ink will work equally well on every surface. Coatings, roughness, color, oil, moisture, or other surface properties can affect the print result. Test prints are therefore always recommended.
1. Analyze the application
The first step is to define the specific labeling task. What needs to be printed? A lot number, a barcode, a QR code, or a larger print image? How many labels are produced per day? And what conditions must the print withstand later on? This information determines which solutions should even be considered for testing.
2. Determine the material
„Simply labeling something as “plastic,„ “metal,„ or “cardboard” is often not enough. What really matters is the actual surface: Is it coated, smooth, rough, absorbent, or non-absorbent? The choice of ink and how well it adheres depend entirely on these factors.
3. Send in the original sample
For a meaningful test, the original material from the subsequent process should be used whenever possible. A random sample may behave differently from the actual product—for example, due to coatings, production residues, or a different surface texture.
4. Create a test print
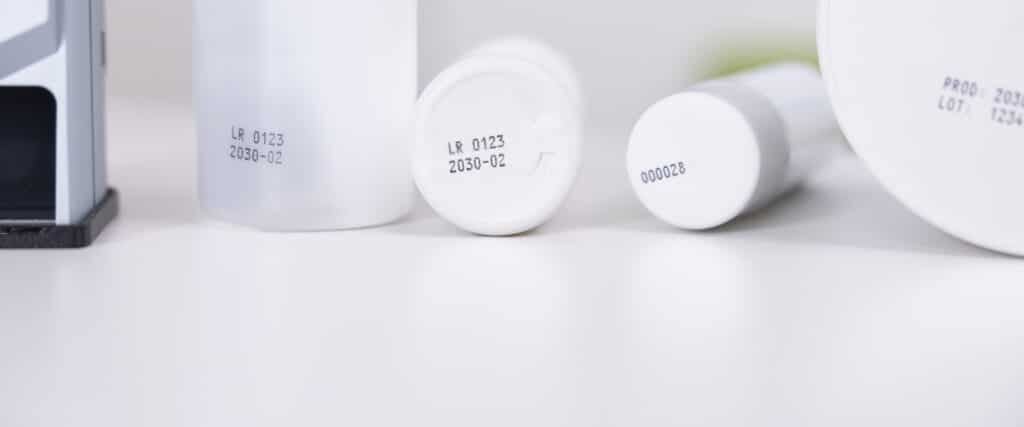
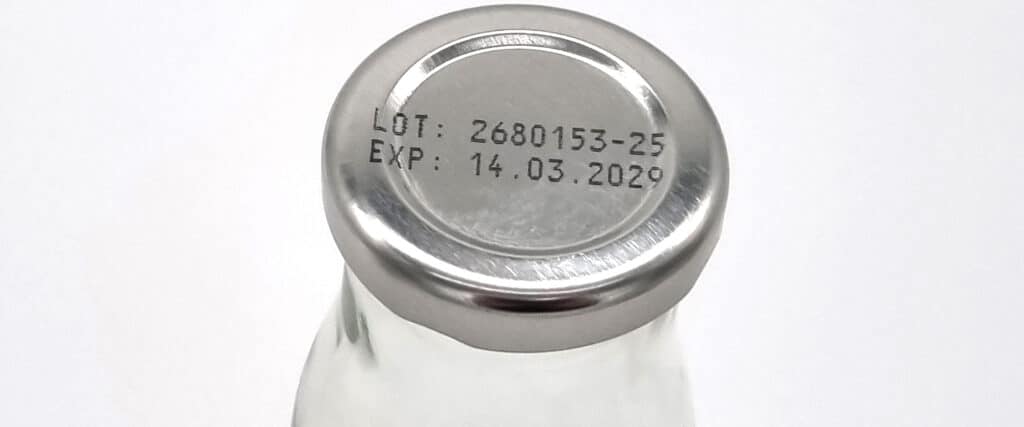
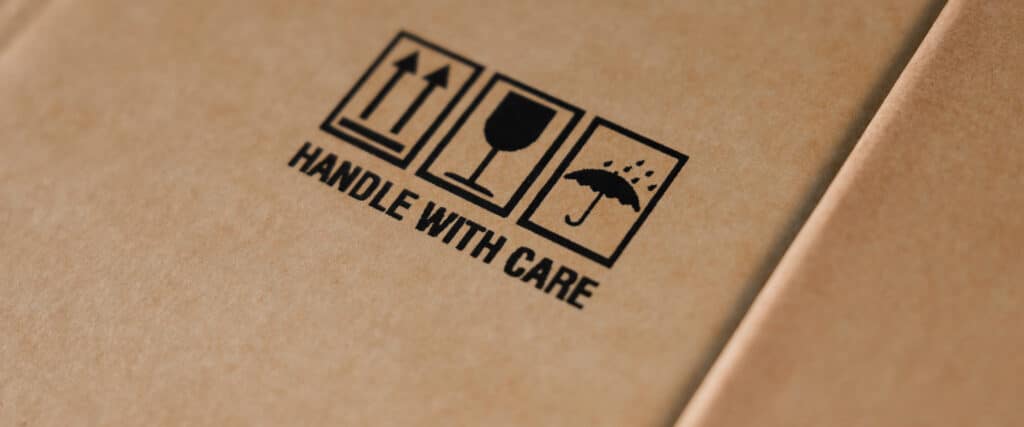
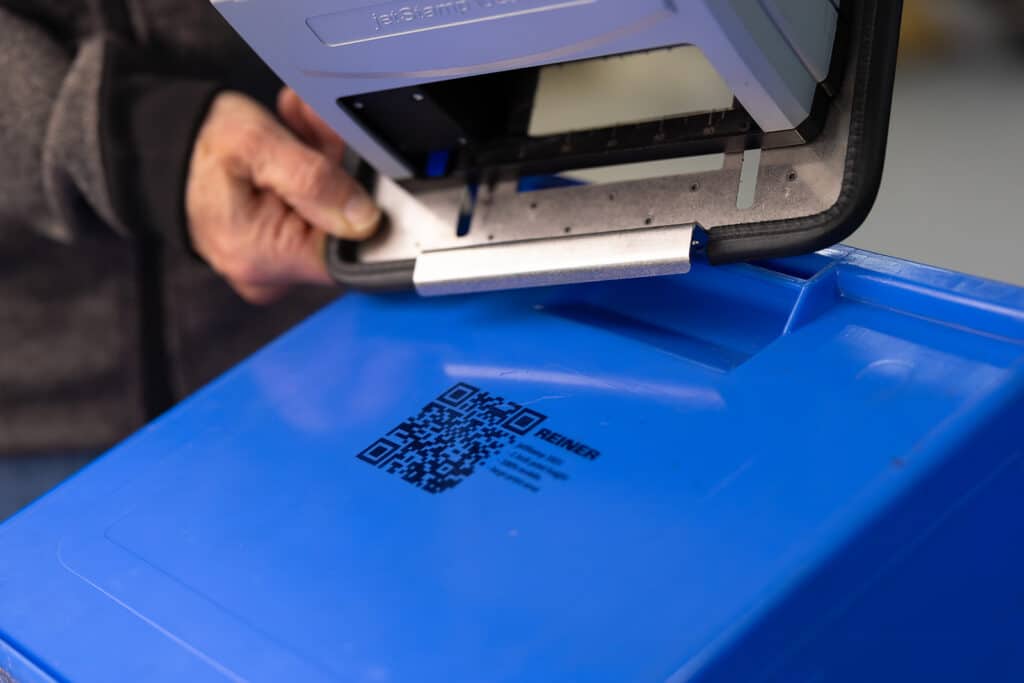
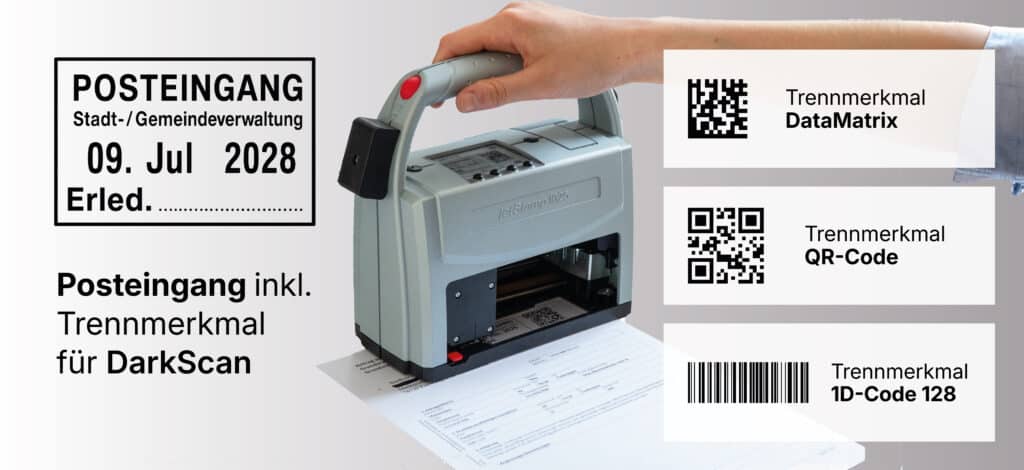
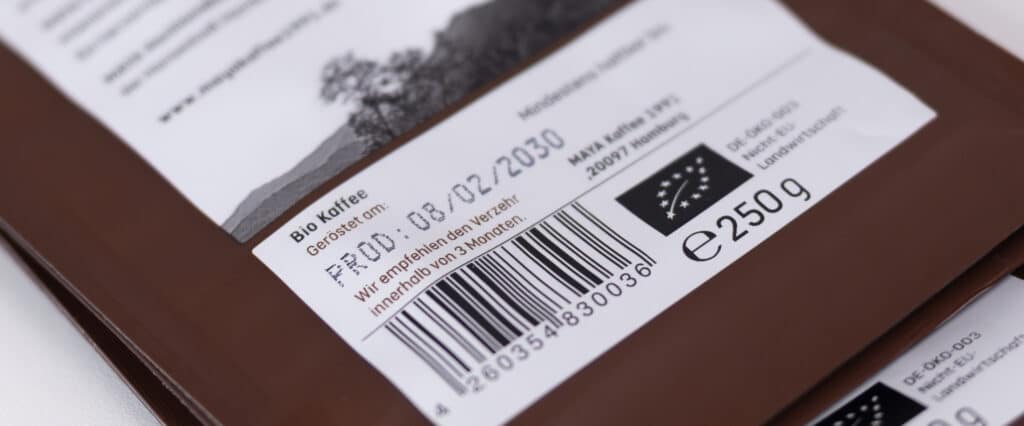
Next, the appropriate combination of marking device, ink, and print image is tested. Whenever possible, the actual print image to be used later should be used during this test—for example, one that includes text, a logo, a barcode, or a DataMatrix code. For such applications, REINER tests, among other things, the material, the appropriate ink, adhesion, legibility, as well as the print image and position.
5. Check the print preview
After printing, it's not just a matter of whether the label looks good. For example, the following should be checked:
- Is the print complete and high-contrast?
- Does the ink adhere well enough?
- Is a barcode reliably readable?
- Does the size fit the available space?
- Will it withstand the stress of future use?
When it comes to codes, readability and scanability are equally important.
6. The customer evaluates the result
The technical inspection is only one aspect. The customer must determine whether the result will also work within their own process. This includes, for example, appearance, positioning, legibility, and whether the marking meets internal quality requirements.
7. Technical Approval
Once the material, ink, and print image have been successfully tested, the selected combination can be approved for use. This means that even before the purchase is made, it is already clear what the final marking will look like and which ink will be used for it.
8. Make a decision
Only then does the actual investment decision follow. Instead of buying a device and then finding out whether it works with your own product, the application is tested in advance. This reduces the risk of making the wrong decision and creates a solid foundation for the subsequent rollout.
Conclusion on Test Prints
A product data sheet can show what a labeling device is generally capable of. A print test, on the other hand, shows what it can actually do on your own product. The ideal process is therefore:
Analyze the application → Determine the material → Test the sample → Evaluate the results → Approve for technical use → Make a decision
That is why, especially when dealing with special surfaces, we at REINER recommend performing a test print on the actual material under real-world conditions. This way, you don’t buy the machine first and then test the application—it’s exactly the other way around.





 German
 English
 French
 Spanish